Hi Friends!
Today I had my state test to be a licensed nurse aide. That means I had to get up extra early and get ready extra fast. Days like today are exactly what this makeup is for.
When you gotta look good, fast and easy. Maybe you slept in, have an early schedule or you just don't feel like putting in a ton of effort today.
This look uses one makeup brush and can be done in less than 10 minutes (with practice). We'll be using a majority of cream products of which I have picked products that blend easily for a good price - because I'm broke.
First off, we're gonna do brows. When it's 5 am and ya gotta get shit done, you keep it simple. So we're gonna use a tinted brow gel. My favorite one is Essence Make Me Brow.
 |
| Essence Make Me Brow in Soft Browny Brows |
She's cheap - 2.99 - but she's good quality. When you pull the wand out there's usually a little extra product on the tip, I like to put that towards the middle-end of my brow and use it to define my arch and tail as if it were a glob of brow pomade. Then I just use the gel like normal. I think I get fairly decent results, not really inta-worthy brows, but that's not always necessary.
 |
| Brow after application |
A glam eye look is fun, but it's time consuming. For a quick and easy pop of color on the lid my favorite product is the Colour Pop Super Shock Shadow. These are a unique consistency that's like a dry cream/mousse thing. It's really hard to describe, you gotta try it for yourself.
 |
| Colour Pop Super Shock Shadows |
 |
| Shade names |
 |
| Sequin on the eye |
So today I used the color Sequin. You can realistically use any one shadow, but depending on what you use it might not last without a primer and it may be harder to put on without a brush. All those extra little steps take more time that adds up, which is fine but I haven't got any time for that so I think the Super Shocks are the easiest to work with and last the best while still giving a beautiful finish.
 |
| Sequin |
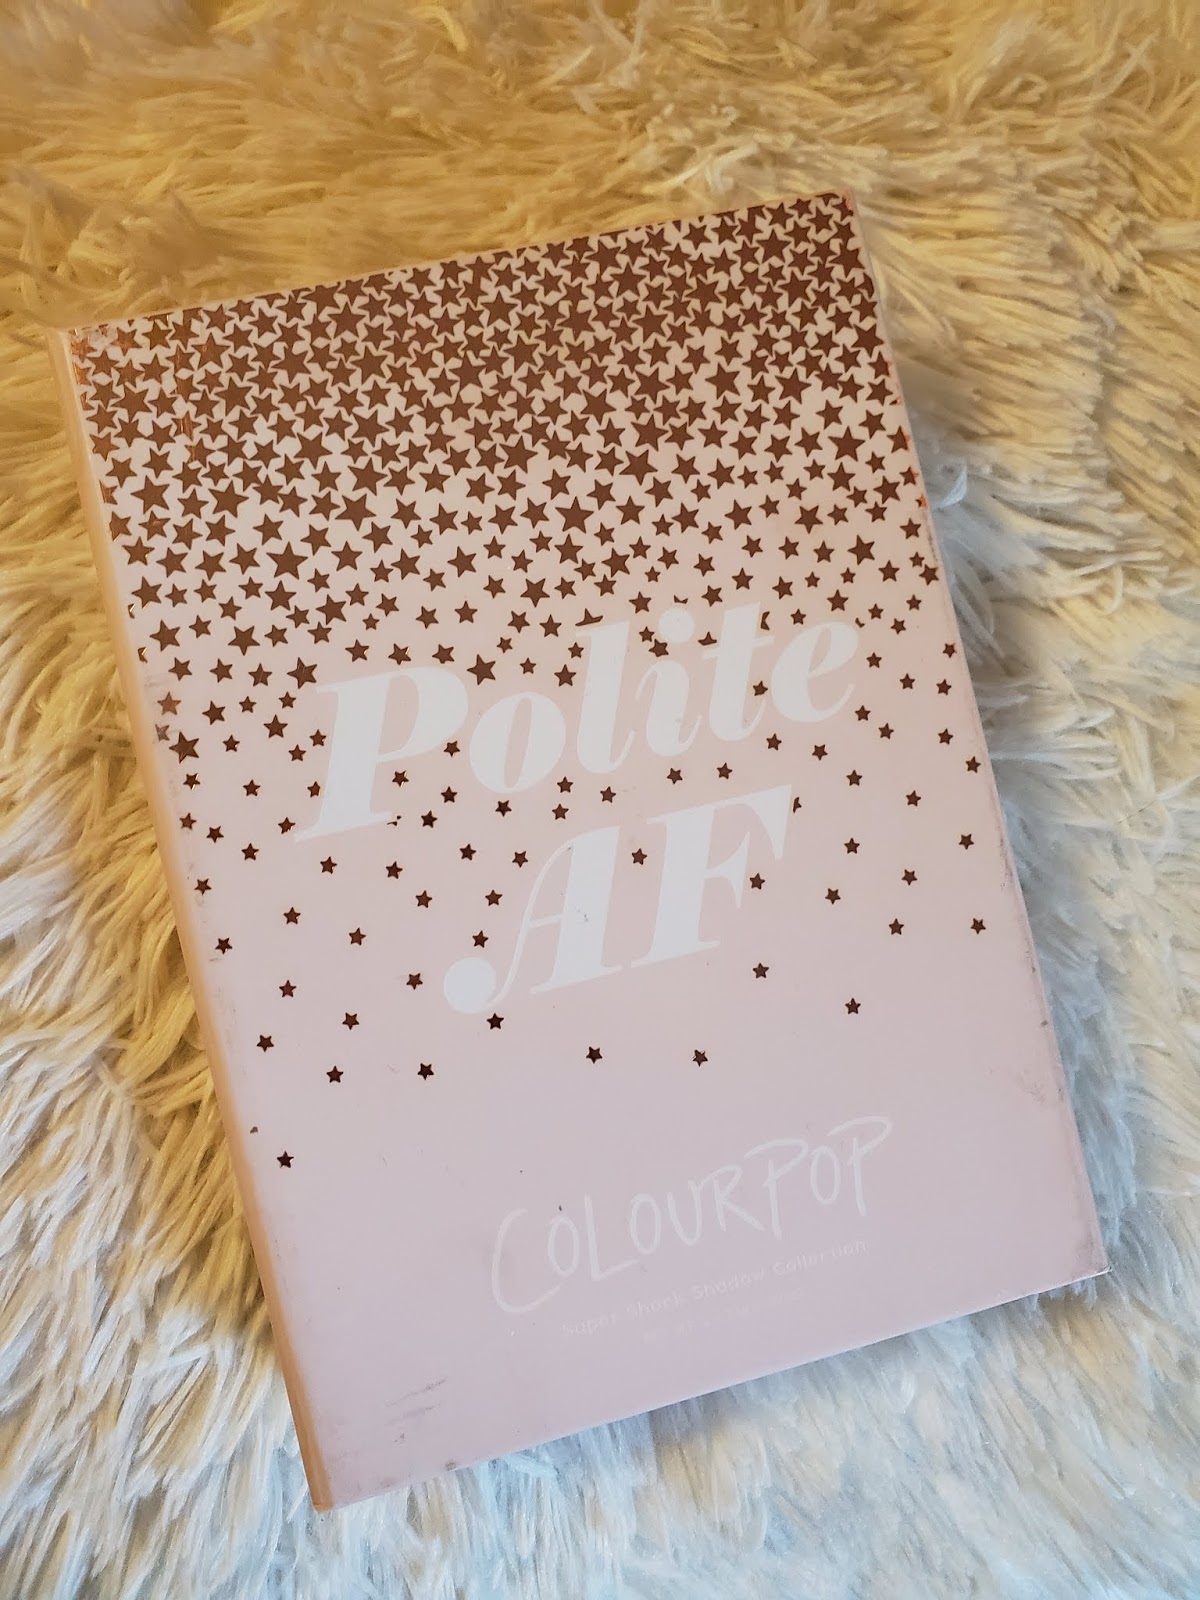
Around the holiday I got a pack of 6 shadows from Sephora called Polite AF for a good deal. Usually those packs have limited edition shadows too, so that's fun.
 |
| Example of a six pack ;) |
 |
| six pack |
 |
| Milani liner |
After you've got your shadow down, you can add liner if you want or you can go straight to mascara. I've been using Milani's 17 hour wear matte finish black liquid liner for years now. I think it's the easiest liquid liner to work with, it lasts good and it washes off easily and can be corrected easily. If you screw up your wing - which I have been known to do - just take a Q tip with water and drag it along to wipe up any unwanted liner, even dried and set liner will come up with just water, that's why I love this liner.
 |
| Eyelook with liner |
 |
| Loreal mascara |
If you want to skip the liner and move onto mascara, you can definitely do that. Here I used the Loreal Lash Paradise. This mascara gives plenty of length and volume in one pass, which is great when you're rushing.
 |
| Eyelook without liner |
So our eyes are finished, let's work on our face. Pretty much nobody has perfect skin, and if you do, please tell us your secrets. You don't need a full base of foundation, just a concealer that blends well with your natural skin tone. I use Maybelline Age Rewind. This concealer doesn't have a huge shade range, so if you can't find a match try Maybelline's Fit Me concealer.
 |
| Maybelline concealer |
I pretty much just smudge the concealer on acne or red spots - anything I want concealed - and then I blend it in with my foundation brush.
The brush I use on the daily is the Spectrum B01 but obviously you can use any foundation brush or makeup sponge. This is the brush we will use for the rest of our face as well. If that first pass doesn't cover everything you want, put more concealer on top of any spots and stipple (bounce the brush/sponge up and down) to blend it out. You won't get a flawless full glam finish with this method, but you'll get pretty darn close!
 |
| Spectrum B01 |
 |
| Post-conealer |
It's 5 am, who has time to contour? WE DO.
We're gonna use a cream contour, and I promise it's not scary. I use the cream contour shade in the Tarte Tarteist Pro Glow palette.
 |
| Tarte palette |
 |
| Bottom left shade |
You need THE SMALLEST amount of this contour. Like, just touch your finger to the surface of the cream. Obviously you can use a brush for this step, but today we are only using one brush so I used my finger. You're gonna want to take the contour cream on your finger a apply - dragging from where the top of your ear connects to your face, about half way across your cheek in the direction towards your mouth. If that doesn't make sense, look at the picture below to see how I applied it and hopefully it'll make more sense.
 |
| Contour cream placement |
Do this on both cheeks and if you wanna get crazy you can contour your nose (I did). Now, use that same foundation brush to blend in an upward direction. I find that the tarte cream contour blends really fast and leaves you with a natural looking shadow. If you use too much product it'll be hard to blend and unnatural, so less is more in this case. If you end up using too much, a sponge will help lift some product.
 |
| Blended contour |
 |
| Blush stick |
Up next we're gonna be blushing using another cream product. I used the Nude Sticks multipurpose stick in Poppy Girl. I like to place the blush on the upper half of the apples of my cheeks so that when I'm not smiling the blush is still on a reasonable part of my face. I also put a little blush on the tip of my nose because I think that's cute, but you don't have to.
Blend again with that same foundation brush!
 |
| Blush blended |
 |
| Blush placement |
If you have oily skin, now's the time to powder. I didn't because this is a one brush look, and I wouldn't suggest using your foundation brush for powder.
 |
| Packaging (it's real cute) |
So now we have highlight, if you've powdered go for a powder highlight but if not the you can use cream or powder. I used the Kaja Roller Glow highlight. This highlighter comes with a tiny paint roller applicator. Don't use it, it's totally useless. Just use a finger and tap it on the tops of your cheeks and anywhere else you want highlight.
 |
| Kaja higlight |
 |
| Shade name |
 |
| Nyx Candy Slick |
 |
| Lip product and highlight applied |
 |
| Shade |
You can use any lip product with this look, chap stick, balm, gloss, lipstick, liquid lip.


In fact, any of these steps you can omit or add onto depending upon your time or your preferences.
In the end, she's a dewy look and perfect for work or classes or anytime you want a really fast and easy makeup look.
Also, here's a picture with my cat. Her name is Stinky Winky.

Social Accounts:
Instagram: @SheIsAlreadyLegendary
Twitter: @She_Legendary_1
Pinterest: SheIsAlreadyLegendary
Comments
Post a Comment